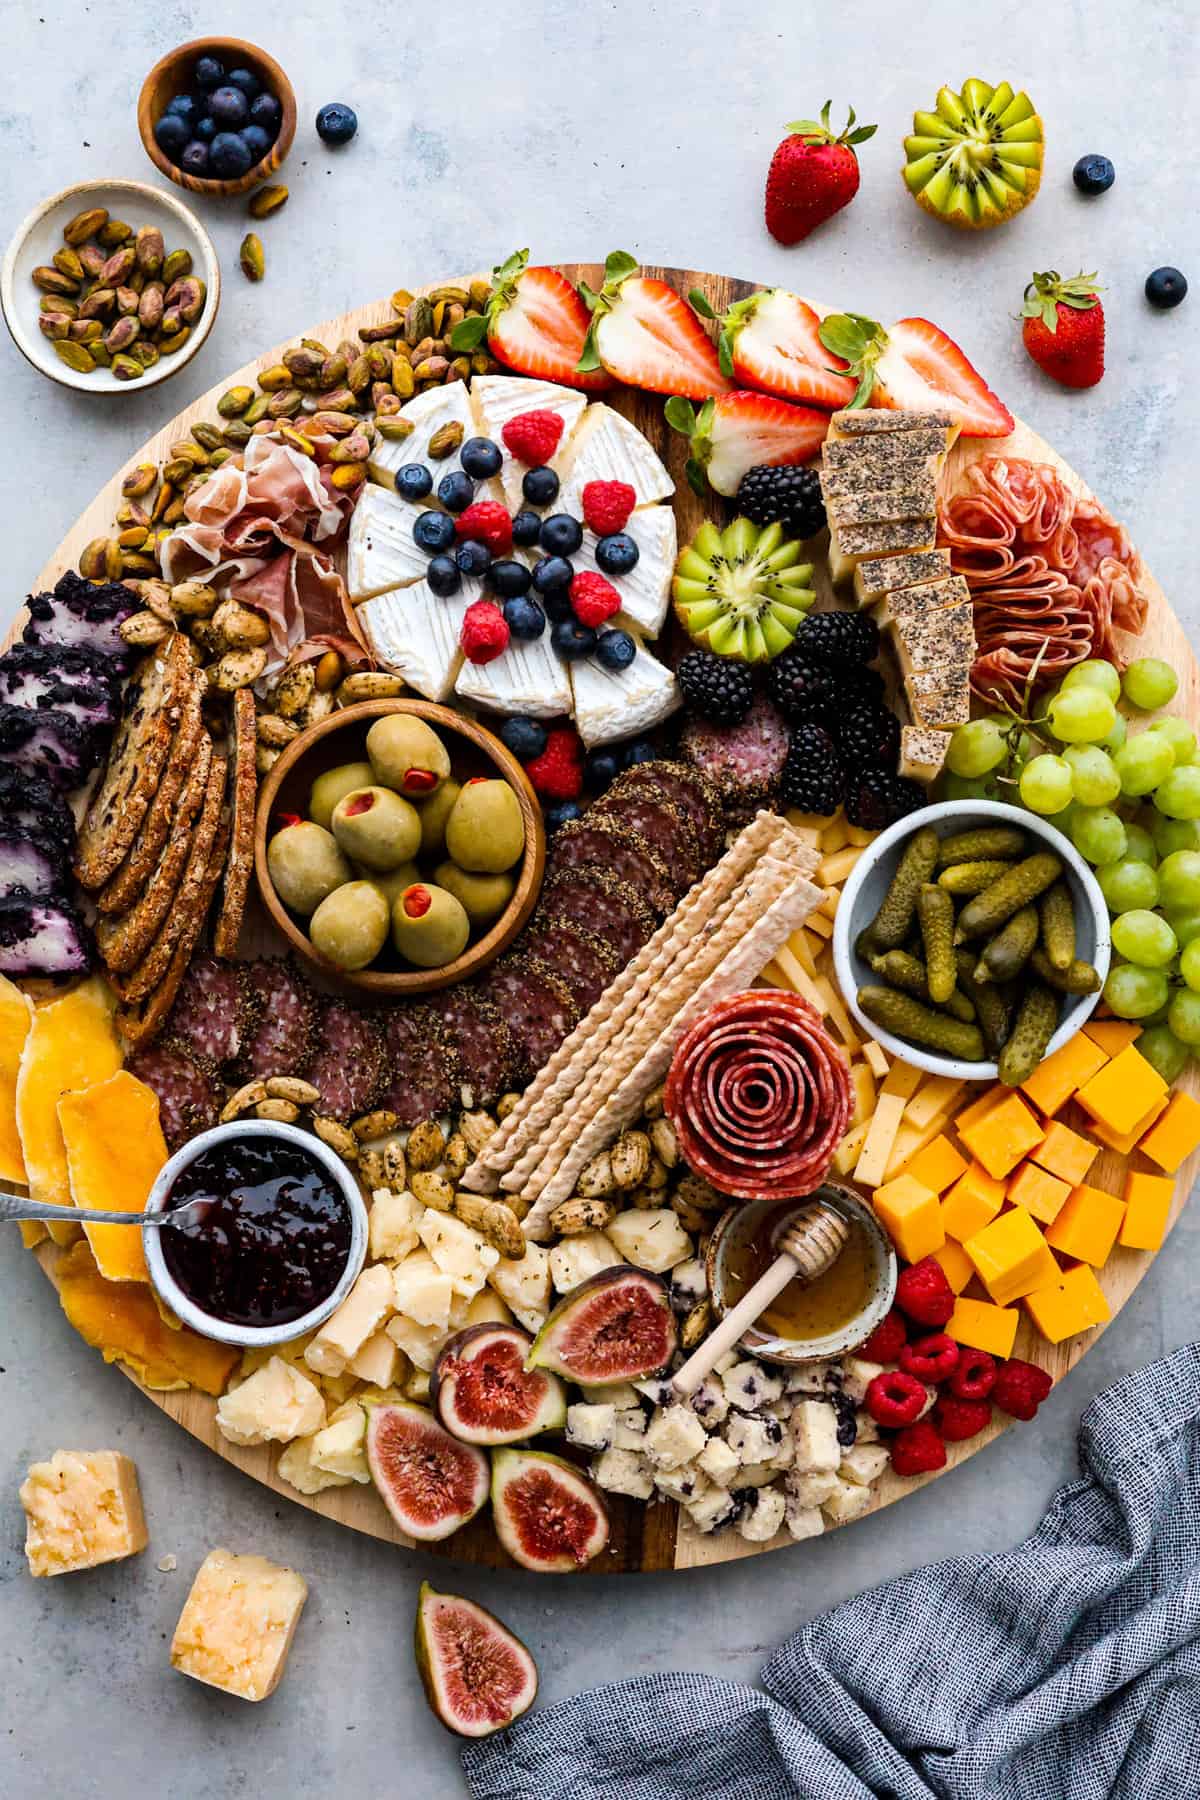
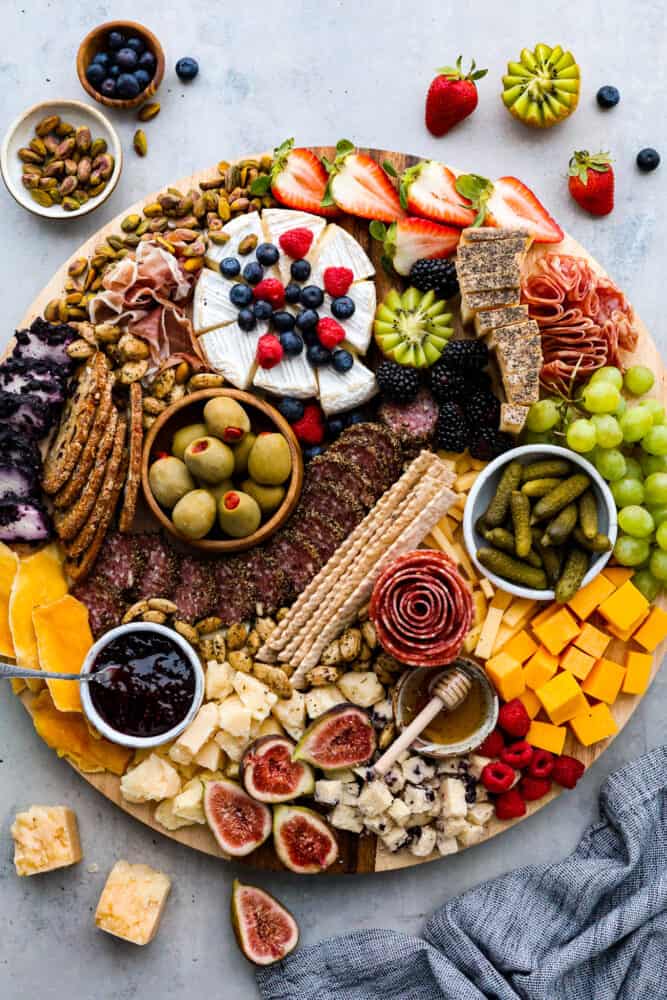
Charcuterie boards are the ultimate party trick that never fail to impress! These beautiful displays of meats, cheeses, fruits, and nuts are not only eye-catching but also incredibly delicious. Don’t be intimidated by how Pinterest-worthy they look, because assembling one is a lot easier than you think. Here are all the ins and outs on how to make a charcuterie board at home! Before we get started on putting your charcuterie board together, you have to think about the theme you’re going for. If you need inspiration, take a look at this Italian charcuterie board, veggie charcuterie board, or chocolate charcuterie board if you’re wanting something on the sweeter side!
How to Make a Charcuterie Board for a Party
Are you planning to throw a party but feeling overwhelmed by the thought of creating a charcuterie board? Don’t worry, you’re not alone! With seemingly perfect charcuterie boards left and right, it can be hard to know where to begin. I remember when I first started making charcuterie boards, I felt like I could never get them to look quite like the inspiration pictures I had seen. Practice really does make perfect, but breaking up the assembly into simple parts helps too! It’s definitely not as intimidating as it seems. The great thing about making a charcuterie board at home as opposed to, let’s say, getting one from a specialty store or your local supermarket is that you can customize them however you’d like. It’s typically cheaper, too! (Even small premade charcuterie boards can be upwards of $100!) Whether you have dietary restrictions or just want to showcase your favorite snacks, making a homemade charcuterie board is always the way to go. Plus, you can impress all of your friends by saying you put it together yourself. Let’s get started!
The Main Components of a Charcuterie Board
There are a million different kinds of charcuterie boards out there, (even ones made entirely out of butter!) but a traditional charcuterie board usually includes a few main things. The serving tray or board itself, cured meats, an assortment of cheese, crackers or bread, nuts, and fruit. Of course, you can swap things out to preference, but if you need a good place to start, here’s what you need!
The Board: When it comes to charcuterie, the board is just as important as the food itself! You’ll want to choose a board that’s large enough to hold all of your delicious goodies without feeling overcrowded. But don’t be afraid to get creative with your board choices – anything from a rustic wooden cutting board to a sleek marble slab will work! Meats: Let’s be real, who doesn’t love a good meaty snack? Cured meats bring a bold, savory flavor to any charcuterie board that’s pretty hard to resist. It’s a great way to add protein to your board! Cheeses: When it comes to creating a charcuterie board, choosing the right cheeses is key to taking your spread to the next level. The possibilities are endless! I like to mix things up with a variety of textures and flavors by using soft cheese, hard cheese, and even cheese with some crunch like parmesan. Crackers: Let’s not forget about the crackers and bread! From crostini to hearty wheat crackers, the right bread can add a whole new dimension to your charcuterie experience. Nuts: Adding nuts to your board not only provides a tasty crunch, but also a dose of protein and healthy fats. Fruit: You always need a little sweet to go with the savory! Try adding grapes, citrus, or fresh berries. You can also use vegetables if you’d like!
How to Assemble a Charcuterie Board (Step By Step!)
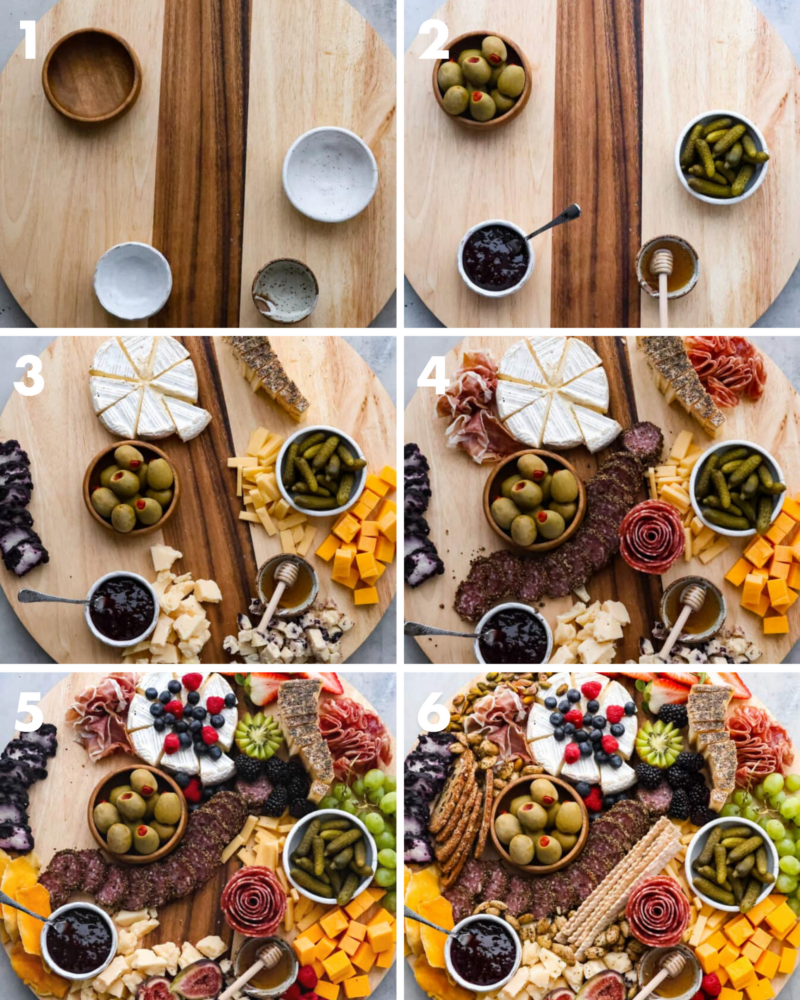
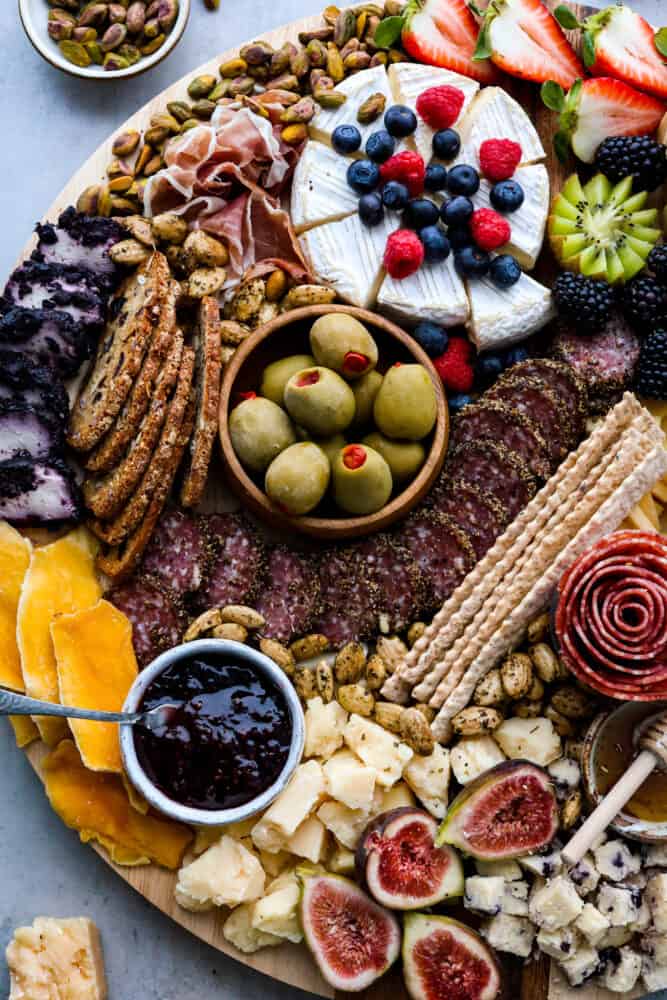
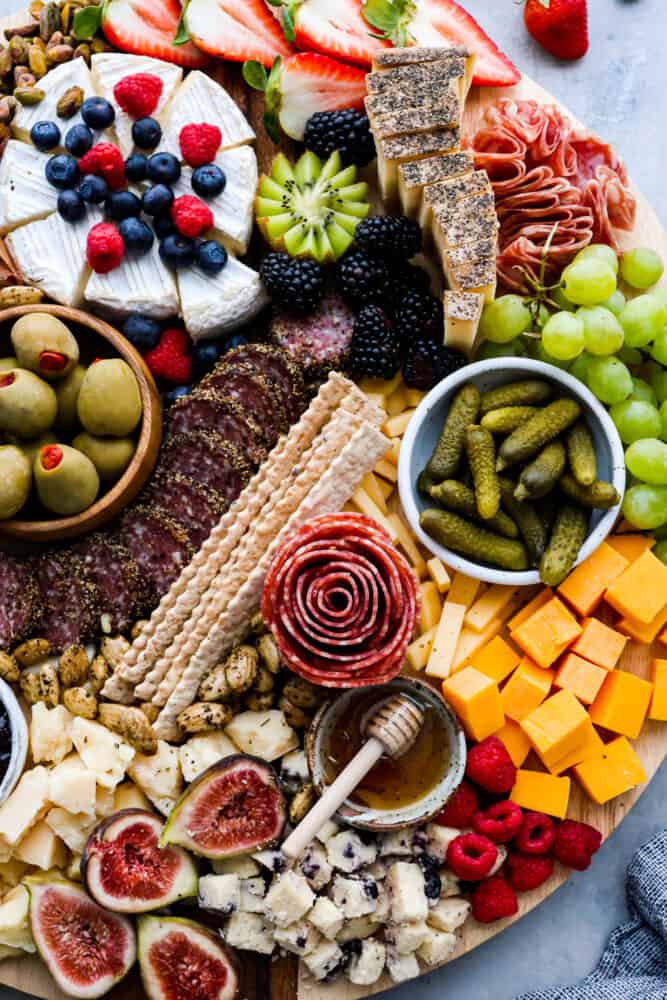
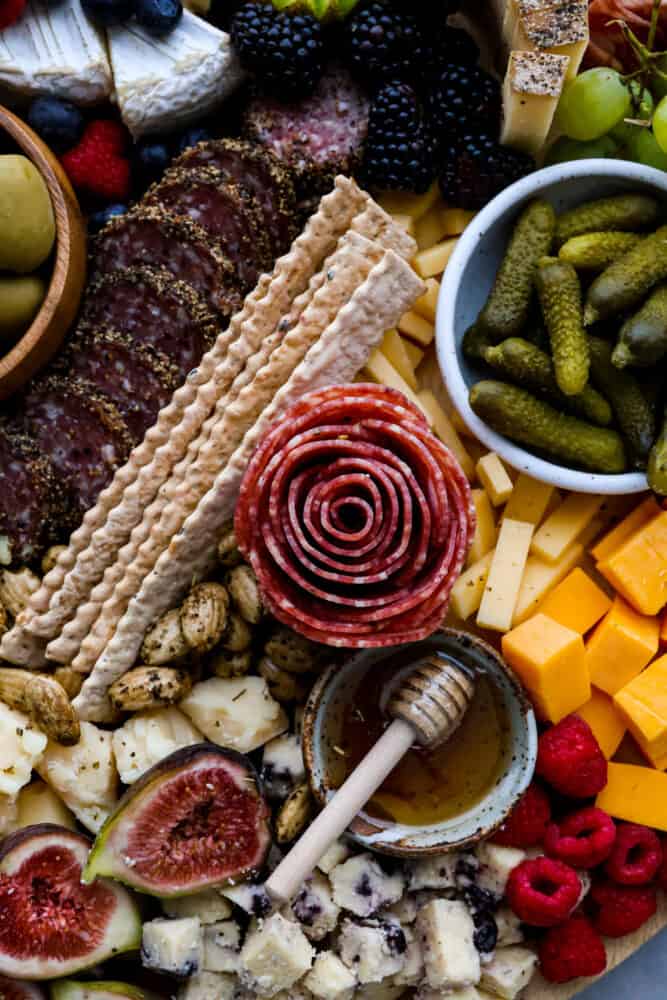
To make things simpler, I’ve broken up the assembly into a few different parts. (You can also use the photo below as a guide!) With each step, you can find all of the ingredients I used and how I put everything together to create the finished product.
1. Add Bowls to Your Board for Dips
On a large charcuterie board, place the small bowls onto the board. Fill them with condiments of choice or finger food. I used:
Gherkins (Baby Pickles) Green Olives Honey Raspberry Jam
I find this to be a great mix of sweet, savory, and tangy! They’re perfect for dipping and combining with the other items on the board. You could also fill your bowls with hummus, Greek yogurt dip, or whipped feta dip.
2. Arrange Cheeses
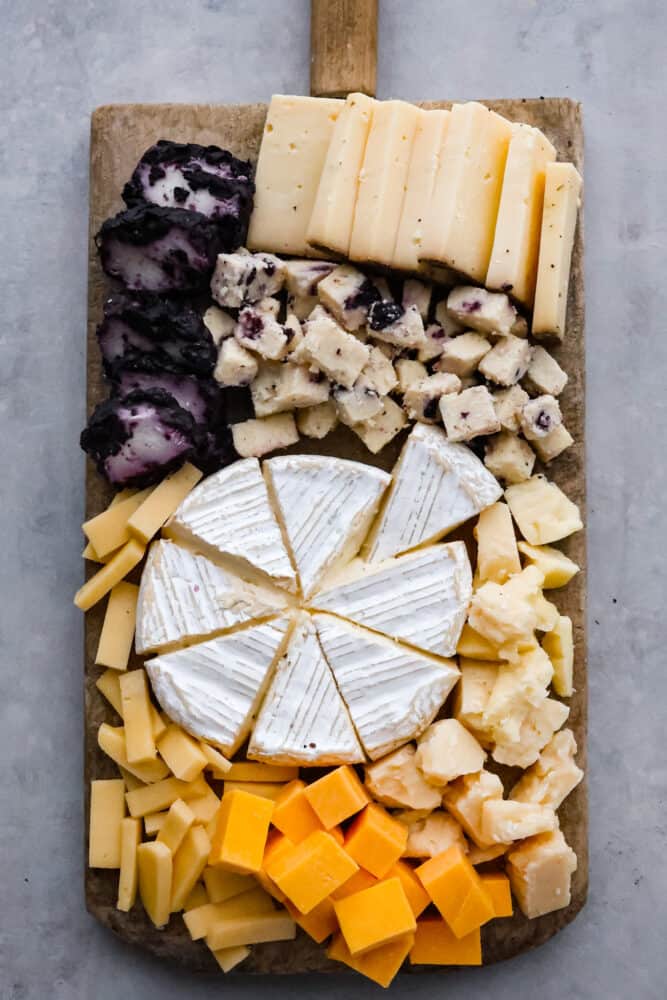
Arrange the cheese around the board and cut the brie into wedges so that it is easier for serving. Cheese is one of the most important parts of a charcuterie board. I always try to make sure I have a wide range of flavors and textures.
Blueberry Goat Cheese Smoked Gouda Double Creme Brie Wheel Wensleydale and Blueberries Somerdale Cheese Black Pepper Bellavitano Cheese Semi-Hard Beecher’s Flagship Handmade Cheese Sharp Cheddar Cheese
These cheeses are all great options to include on a charcuterie board. A few of my personal favorites – the blueberry goat cheese has a sweet and tangy flavor, and a soft and creamy texture that spreads easily. Double creme Brie is a creamy and buttery cheese that pairs well with fruit and crackers. The Wensleydale is a tangy and fruity cheese with the perfect crumbly texture. These cheeses provide a range of flavors and textures that create a well-rounded (and delicious!) charcuterie board.
3. Next, Add Your Meats
Fold the salami in half and arrange them around the board. Then make a Salame rose, and finish layering the prosciutto and peppered salame around the board.
Italian Dry Salame Prosciutto Peppered Salame
If you’ve never made a salame rose before, you can find a full guide here! Italian dry salame, prosciutto, and peppered salame are the triple threat of cured meats that add a burst of flavor to any charcuterie board. They have a deliciously salty taste and a tender texture that melts in your mouth like butter.
4. Surround Meat and Cheese With Fruit
Add the fruit around the meats and cheese. I added fresh berries on top of my wheel of brie for an extra pop of color.
Strawberries Blackberries Figs Blueberries Green Grapes Blueberries Kiwis
Not only does fresh fruit add juicy, sweet flavor to the charcuterie board, but gorgeous color as well! You could also include things like raspberries, cranberries, orange slices, or sliced pears.
5. Finish With Crackers and Nuts
Finish the board by filling in any space with the crackers and nuts. For the best mix of textures, I used:
Flatbread Crackers Crostini (A sliced baguette also works) Seedy Crackers
From crunchy baguettes to buttery crackers, the key is to have a variety of textures and flavors to complement the meats and cheeses. And let’s be real, who doesn’t love a good cracker-to-cheese ratio? It’s the perfect excuse to pile high and savor every bite.
Don’t Forget the Utensils: Supply your guests with things like toothpicks, skewers, cheese knives, or small individual plates to keep their food on! Think About Shapes: Play around with different shapes and sizes of your items to create an eye-catching display. Think cubes, slices, and wedges! Add a Garnish: Don’t forget the garnishes! Fresh herbs, olives, and nuts can add a pop of color and flavor to your board. Variety, Variety, Variety! Think of your charcuterie board as a mini buffet, and give your guests plenty of options to choose from.
Homemade Strawberry Jam
Olive Oil Bread Dip
Creamy Avocado Yogurt Dip
Hot Honey
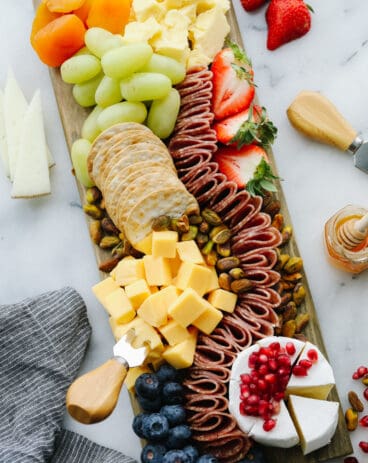
Simple Charcuterie Board
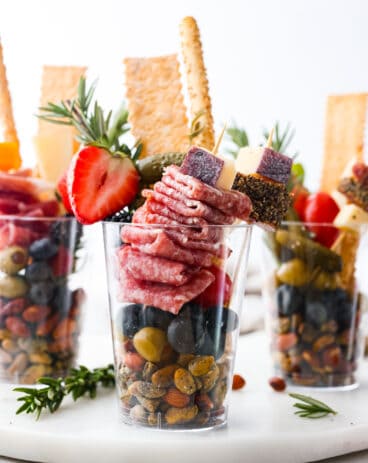
Charcuterie Cups
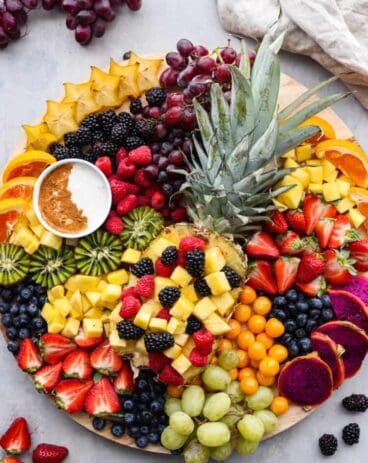
Fruit Charcuterie Board
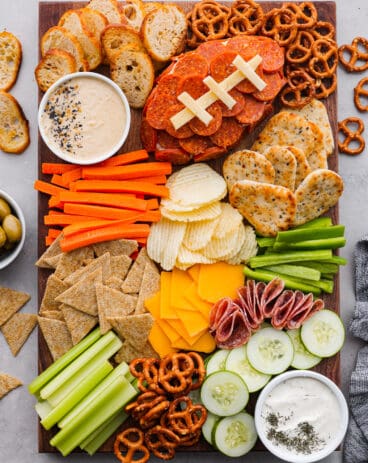
Football Charcuterie Board
All nutritional information is based on third party calculations and is only an estimate. Each recipe and nutritional value will vary depending on the brands you use, measuring methods and portion sizes per household.
The Best Homemade Alfredo Sauce Recipe Ever!
Insanely Delicious Prime Rib Recipe
Lemon Garlic Parmesan Shrimp Pasta
